Set up your Android phone to work with Hushmail (IMAP)
- Open the Applications menu.
- Open the Email application.
- Tap Add Account.
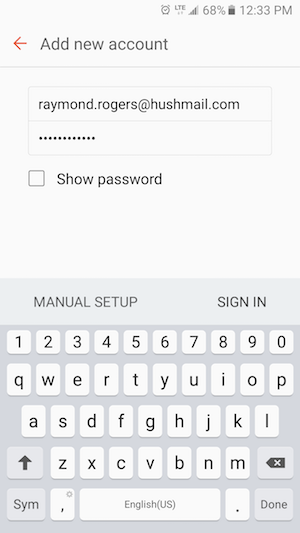
- Type in your full email address and your passphrase
- Tap Manual Setup
Tip: If you have enabled our two-step verification feature, you will need to type in your passphrase, then a space, then the IMAP/POP passphrase we assign to you in webmail under Preferences in the Security tab
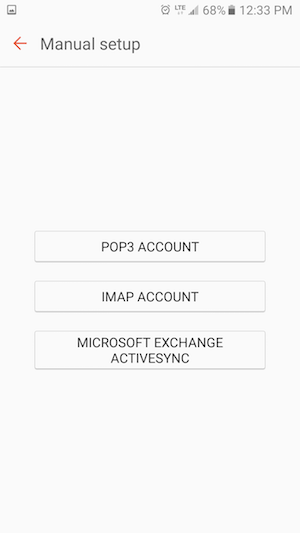
Next, you will be asked to select an account type.
- Tap IMAP Account
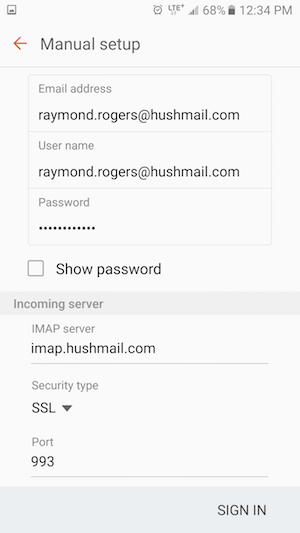
- Enter your incoming server settings.
IMAP server: imap.hushmail.com
Security type: SSL
Port: 993
User name: your full email address
Password: your passphrase
- Tip: Scroll down to see Outgoing server
- Enter your outgoing server settings.
SMTP server: smtp.hushmail.com
Security type: SSL
Port: 465
Authentication required before sending emails: checked
User name: your full email address
Password: your passphrase
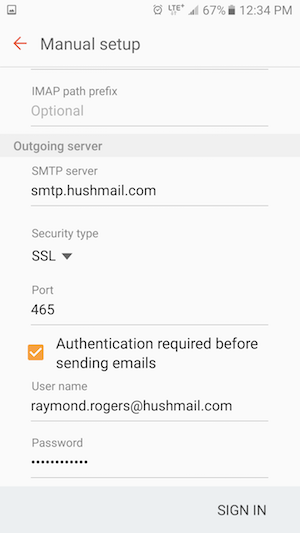
- Tap Sign in
- Done!
Still having trouble signing in? Something to note is that regardless of if your Hushmail email address ends in @hush.com, @hush.ai, @hushmail.me, @mac.hush.com or your own custom domain name, you will need to use imap.hushmail.com and smtp.hushmail.com as your server settings.