Set up iPhone and iPod Touch to work with Hushmail (IMAP)
- Tap Settings.

- Tap Mail, Contacts, Calendars (iOS 10 or below) or Accounts & Passwords (iOS 11).

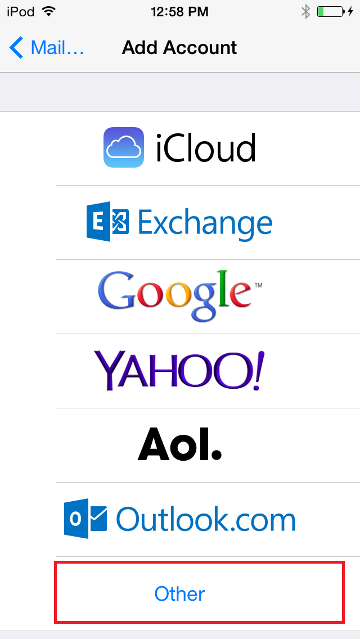
- Tap Add Account.

- Tap Other.
-
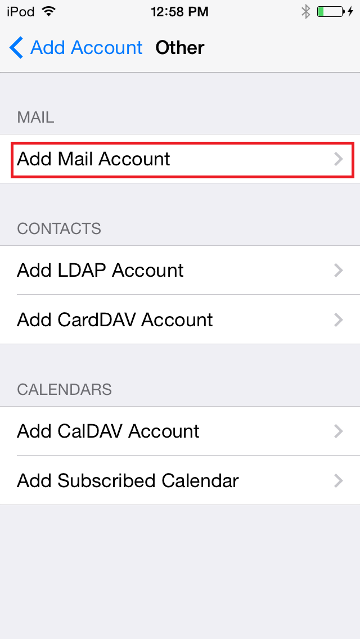
If prompted, select, Add Mail Account. Otherwise, proceed to step 6
-
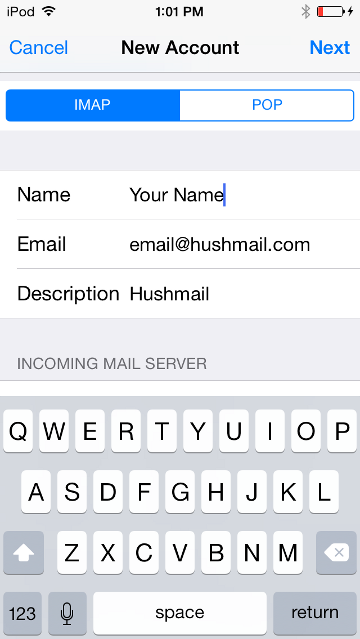
Enter your account information.
Name: your name
Address: your full email address
Password: your passphrase
Description: a description for this accountTap Next.

- Select IMAP and enter your server settings. When you have finished, tap Next.
Incoming Mail Server
Host Name: imap.hushmail.com
User Name: your full email address
Password: your passphraseOutgoing Mail Server
Host Name: smtp.hushmail.com
User Name: your full email address
Password: your passphrase

- Select On for the Mail setting, then click Save.

-
Your account should now be setup.
Troubleshooting
If you receive the following error, please proceed with the next steps...

- Tap OK, and then, Next again. You'll be prompted that you may not be able to send mail. From there select, Save.
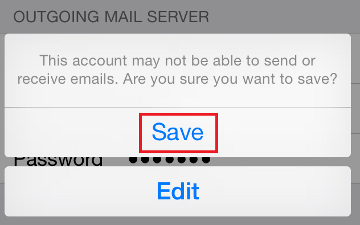
- Select, Save again.

- You will then need to edit the account settings. Select your newly added Hushmail account

- Select your Hushmail account

- Scroll to the bottom, and select, Advanced.

- Ensure that your incoming server settings are configured correctly:
Use SSL: On/Enabled
Authentication: Password
Server Port: 993
(all other settings are not applicable or required)
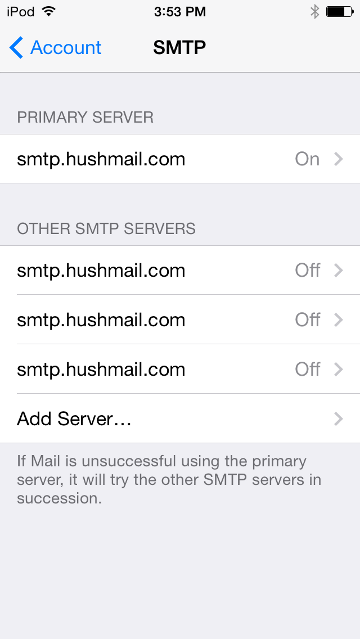
- When finished, tap on, Account and go back to the previous screen. From there, select, SMTP smtp.hushmail.com

- Tap on, smtp.hushmail.com On
- Ensure that our outgoing server settings are configured correctly:
Host Name: smtp.hushmail.com
User Name: your full email address
Password: your passphrase
Use SSL: On/Enabled
Authentication: Password
Server Port: 587 *Note: an alternate port 465 can also be used if you cannot connect using 587
- After making any necessary changes, tap, Done. Your account may take a moment to verify.
This should complete your account setup.